

Jira integration
Use the Jira integration to bring existing Jira work into Sharkly and keep selected Jira projects connected to Sharkly Spaces. Jira Cloud and Jira Server or Data Center are supported.
Choose import or sync
- Import copies existing Jira data into Sharkly. Use it for historical work or a controlled migration.
- Sync links a Jira project to a Sharkly Space and keeps recent changes connected. Sync does not import historical data by itself. If the Space has the Triage inbox enabled, newly synced Jira issues enter the Triage status first. One-time historical imports still follow status mapping and do not necessarily enter Triage. GitHub and other synced tasks use the same source and link banner in task detail as Jira-synced tasks.
- Import and then sync imports the selected history and can enable ongoing sync with the credentials already entered in the wizard. You do not need a pre-existing Jira connection. Use a private network proxy appears only for self-hosted / Server / Data Center Jira; Jira Cloud does not show it. When the host is a private-network address, import and connect use a private-network proxy Computer rather than a direct cloud connection. If step 1 used a proxy computer, import and bidirectional sync both reuse that computer. If the proxy is unavailable or authentication fails, follow the error on the page.
Connect Jira for ongoing sync
Open Integrations, select Jira, and choose Connect Jira.
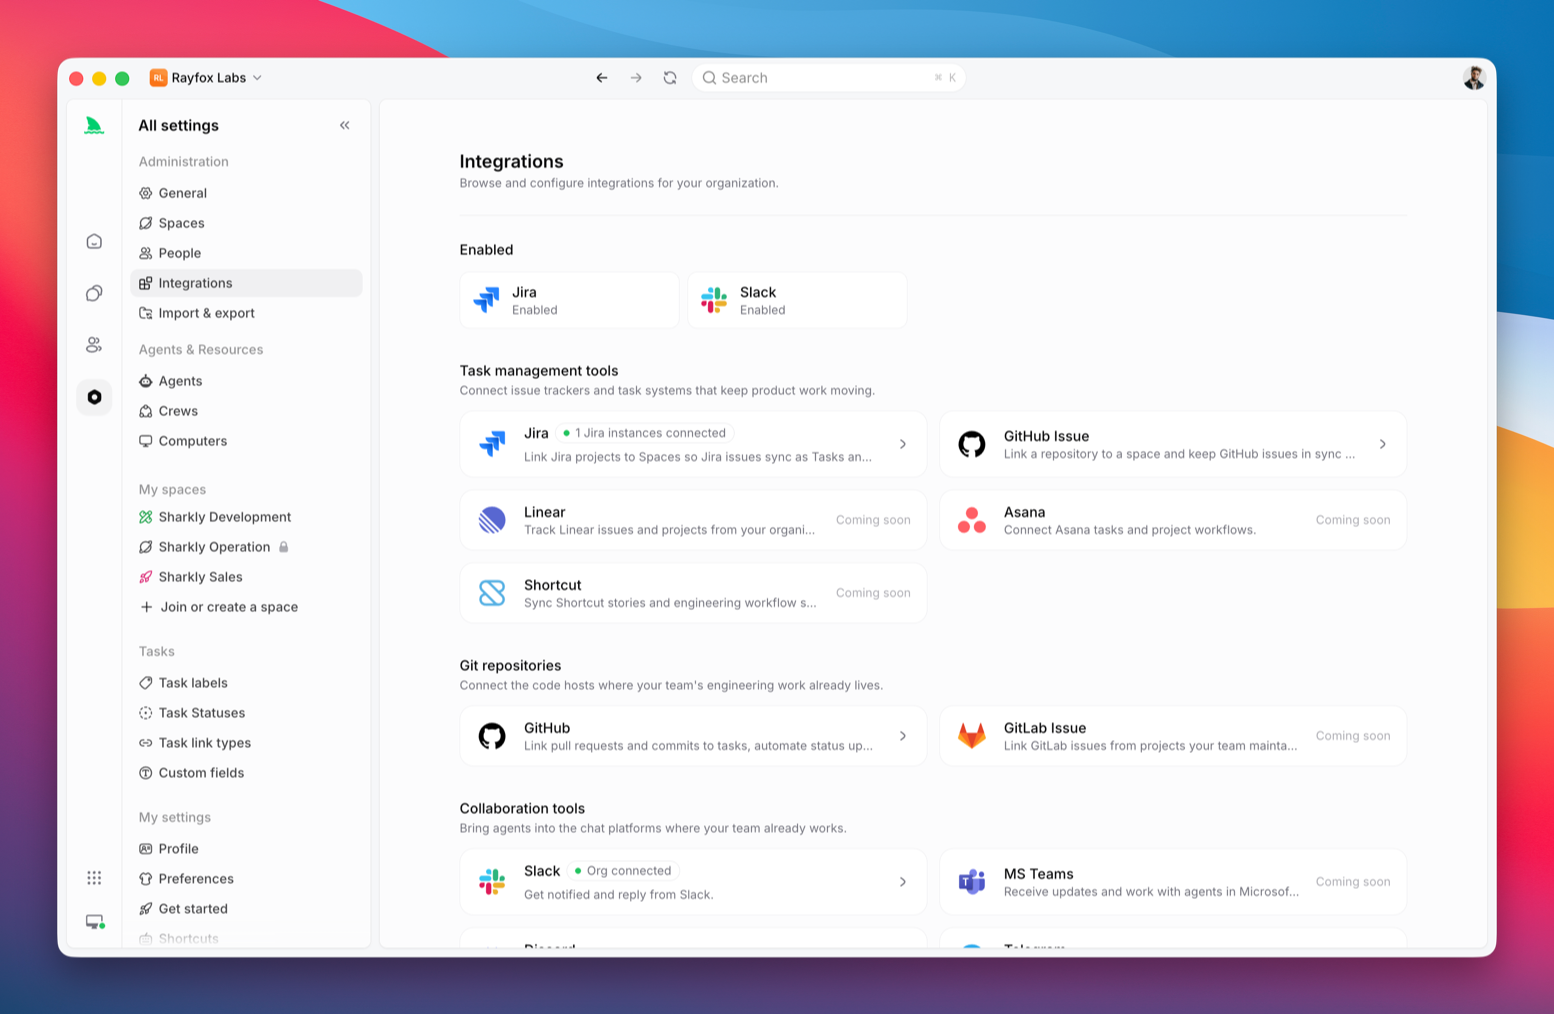
For Jira Cloud, enter:
- The bare host name, such as
acme.atlassian.net - The Jira account email address
- An Atlassian API token
For Jira Server or Data Center, enter:
- The full Jira base URL
- The Jira username
- Authentication method: Personal access token, or Username & password
Sharkly validates the credentials, stores an organization-level connection, and attempts to load the projects visible to that account. After a successful connection, a guidance dialog offers Set up data sync first, then Import data. Connecting Jira does not sync or import by itself. Choose Not now to continue later. Project loading is best effort, so a valid connection can be saved even when the account cannot browse projects. Use Refresh Jira projects after correcting access.
The Jira account needs access to every project you intend to link. Automatic webhook installation also requires Jira administration permission. A missing webhook permission does not block creation of the connection or link; use Configure webhook and give the packet to a Jira administrator. Jira changes will not arrive until webhook access is available.
Manual webhook recovery
If automatic installation fails, an amber notice appears directly under that link's row with Configure webhook — you do not have to expand anything. Give its one-time configuration packet to a Jira administrator. It includes the callback URL, the product-branded webhook secret header, query-secret fallback, required events, and project JQL. Copy the packet before dismissing it: regenerating the secret invalidates the previous value immediately.
After the administrator saves the webhook, modify a test issue in the linked Jira project. Sharkly enables the link only after it receives and successfully processes that signed event. If the link reports Callback received, processing failed, use the displayed timestamp and request ID for support; it is an inbound processing incident, not a Jira-permission failure.
Create and manage sync links
A sync link pairs one Jira project with one Sharkly Space.
- Open the Jira integration page.
- Select Add new link.
- Choose a Jira project and a Sharkly Space.
- Choose a direction.
- Review the issue and project status mappings.
- Save the link.
One Jira project can have only one active Space link. Multiple Jira projects can link to the same Space. The Jira project and Space cannot be changed after creation; delete the link and create a new one to select different targets.
Each link's row shows Sync configuration before its chevron; opening it shows that link's settings in a drawer, including history import, mappings, webhook setup, pausing, and deleting. When a link needs your attention, an amber notice appears directly under its row with the action to take, so you do not have to open the drawer first.
Available directions are:
- Bidirectional: Jira issues and epics sync with Sharkly Tasks and Projects in both directions. New Tasks and Projects in the linked Space can create Jira issues and epics.
- Jira to Sharkly: Jira issues and epics create or update their linked Sharkly records, but new Sharkly records are not created in Jira. Supported updates to records that are already linked can still be written back to Jira.
Deleting a link stops future sync without deleting Jira issues, Jira epics, Sharkly Tasks, or Sharkly Projects. Disconnecting the Jira connection disables all of its links and also leaves existing records intact.
Import Jira data
Open Settings, then Import & export, and start a Jira import. There are two ways in:
- API import: enter host, account, token, project key, optional JQL, and the target Space. Use this for a full migration and for ongoing sync after import.
- File import: upload a Jira CSV exported with Issues → Export → CSV (all fields). Map columns in the wizard (a title column is required) and import into the chosen Space. Unmapped fields may become custom fields. Mapping options follow the wizard.
File import is for a CSV you already have, or when API access is not available. Comments, attachments, and ongoing sync still use the API flow.
Other sources in the same Import & export screen use their own file wizards. Mapping options follow each source's wizard.
The current API flow includes these steps:
- Enter the Jira host, account, token, project key, optional JQL, and target Space. The first option in the Space selector is + Create new space; choose it to create a Space without leaving the import flow. After creation, Sharkly returns to the wizard and selects the new Space as the import target.
- Validate the connection and review counts for issues, epics, statuses, labels, users, task types, custom fields, and existing Tasks.
- Choose open issues, closed issues, or both, and exclude individual issues if needed.
- Map Jira statuses.
- Map Jira users or choose not to import users.
- Choose import options and confirm the result.
Import options include:
- Sync issues and epics after import. First-time import can enable this with the credentials already entered in the wizard; a matching organization connection is not a prerequisite. The option is bidirectional, syncs only changes after this import, and reuses an intranet proxy computer chosen in step 1. You can later change the link to one-way, pause it, or remove it in External app integrations. Use Use a different account if the long-term sync account should differ from the import account, while keeping the same Jira host.
- Add the
Migratedlabel, enabled by default - Overwrite mutable Jira-sourced data on records imported earlier
- Import Jira Sprint data
- Switch the target Space to the Jira Sprint mode when Sprint import is enabled
Import history after sync
A sync link keeps later changes connected; it does not backfill the project's existing Jira history. To bring in that history after the link exists, use the Jira integration's historical import action. Sharkly reuses the saved Jira connection, so you do not need to paste the token again.
Historical re-import skips Tasks already identified from the same Jira source by default. If you enable Overwrite import, the confirmation step shows the number of existing Tasks and asks you to confirm. Overwrite refreshes mutable Jira-sourced data in place and preserves the Sharkly Task identity; it does not create duplicates. Progress, per-item failures, cancellation, and the seven-day rollback window follow the regular API import rules below.
Only one Jira import can run in a Space at a time. You can cancel an active import; records already created remain. A completed or failed import can be rolled back within seven days, which removes the Tasks and Projects created by that import but does not change Jira data. A canceled import cannot currently be rolled back automatically.
Data and mappings
The import and sync flows use these core mappings:
Imported labels belong to the target Space, so they do not affect label pickers in other Spaces. If the Organization already has a label with the same name, the import reuses that Organization label instead of creating another Space label with the same name.
For import status mapping, each Jira status can use an existing Sharkly status or create a new status with a selected category and order. The create option is shown as Create new status (source status name) so you can confirm which Jira status it represents. If no explicit mapping is supplied, import uses category-based defaults.
For sync links, saved mappings take priority. Sharkly then tries an exact Jira status name and finally the Jira status category. A missing or invalid mapping can prevent a status update from being written to Jira.
User import is conservative by default. You can leave users unassigned, map Jira users to existing members, or invite a new member by email. If user import is disabled, assignees remain unassigned and imported comments use the importing member as author.
Members can connect a personal Jira account after an organization connection exists. Personal credentials are used for comment identity and identity-field mapping. If a personal credential is unavailable, comment publishing falls back to the organization integration account.
Permissions and security
- Organization owners and admins can connect or disconnect Jira, update credentials, refresh projects, create or remove links, and start, cancel, or roll back imports.
- Organization members can view connection and link status. A member can connect or disconnect their own personal Jira account.
- Organization and personal Jira tokens are encrypted at rest. Connection responses expose token metadata rather than the full token.
- Import credentials may be retained in encrypted job state so an interrupted import can resume and a prior import can be prefilled for re-import. Restrict administrative access and rotate Jira tokens when needed.
- Jira webhooks use a link-scoped secret. The plaintext secret is returned only by the one-time recovery action and is never shown in link status.
Use a Jira account with only the permissions required for the selected projects, plus Jira administration permission if Sharkly must install webhooks. Rotate API tokens and personal access tokens according to your security policy.
Troubleshooting
When a task or project shows a Jira sync banner, read the original Jira error after the title (for example no transition to status "In Progress"). Use that line to pick the matching action below, then retry sync.
Match the banner error
Credentials are rejected
For Jira Cloud, use the bare *.atlassian.net host, the account email, and an Atlassian API token. For Jira Server or Data Center, use the correct base URL, username, and either a personal access token or a username and password. Update the stored credentials after a token or password expires or is revoked. Confirm the account can browse the project and create or edit issues. If comment sync failed, check whether the comment author needs a personal Jira account.
The Jira item was not found
The Sharkly item is still linked, but the Jira issue is missing, archived, or no longer visible to the integration account. Open the Jira issue from the banner. Restore it in Jira if it was deleted, or disconnect the sync link if you no longer need it.
Jira Epic type is unavailable
This usually happens when Sharkly tries to write a project as a Jira Epic. Enable an Epic issue type for the linked project, confirm the integration account can create Epics, or switch the link to one-way sync.
Required Jira fields blocked sync
The Jira create or edit screen has a required field Sharkly does not write, such as component, version, a custom field, or security level. Remove the required setting or give the field a project default, then retry.
A workflow or field constraint blocked sync
The banner title is the same for several failures. Use the original error after the title.
no transition to status "xx"
Jira has that status, but this issue cannot move there from its current status in one step. Custom workflows often block jumps. Auto-mapping can also collapse several Sharkly in-progress statuses onto one Jira status.
- Open the Jira issue and check the current status and allowed transitions.
- Open the Space Jira sync link and fix status mapping. Map Sharkly In Progress to the matching Jira status, not every started status to the same Jira status.
- Confirm the target Jira status is reachable in one step. If Jira requires an intermediate status, move it in Jira first or change the mapping.
- Retry sync.
The status is not mapped
This Sharkly status has no Jira mapping. Open the sync link status mapping, choose a Jira status or leave it unmapped, then retry.
field cannot be set or unknown field
The current Jira screen or field context rejects the write. Check the edit screen, field context, and issue type, then retry.
If the original error does not match those cases:
- Confirm the mapped Jira status is the intended one.
- Check workflow validators, conditions, and post functions.
- Retry after the Jira configuration or mapping change.
Jira changes do not reach Sharkly
Confirm that the project has an active link and that the Jira account has permission to install and manage webhooks. Check that the webhook project filter covers the linked project. JQL used during import limits only the import and does not limit ongoing sync.
Showing category-based status defaults
Live Jira statuses could not be loaded, so the mapping UI falls back to category defaults. Update or reconnect the Jira credentials, confirm the account can read project statuses, refresh Jira project metadata, then pick exact Jira statuses.
Comments use the integration account
Connect or update the member's personal Jira account. If the personal credential is missing or invalid, Sharkly uses the organization integration account.
An attachment fails to sync
Check the attachment size, Jira attachment settings, and the integration account's file permissions, then retry the affected record.
No Jira projects appear
Confirm that the integration account can browse the project, then select Refresh Jira projects. Refreshing metadata does not create links or repair failed items.